We make the transition to solar easy.
A major home improvement project like going solar can seem daunting and confusing. Along with new technology, you’ve got to deal with city hall and your utility company. It might seem like a lot of hassle, but we can assure you that, with us, it’s not.
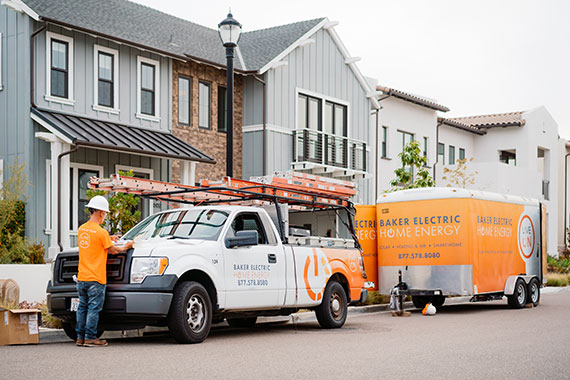
Baker has guided 15,000 homeowners on the journey of going solar. We don’t just fit your panels, we take care of every stage of the process, removing all the struggles and worries.
Here’s how it works:
1. Specifying the right system for your needs
To kick-off the solar installation process, one of our expertly trained solar energy consultants will meet with you to discuss your family’s energy needs, solar panel installation cost, financing options and answer any questions you have about going solar.
Since each system is unique, your solar panel installation cost will vary depending on a number of factors such as your historical energy usage and if you plan on additional electrical loads in the future.

2. Pre-Engineering Site Survey
Your site surveyor will check the overall dimension of your roof, slope angles, locations of the chimney and vents, and even overall roof thickness in order to ensure we draft the best possible solution for solar installation on your home.
3. Design Engineering
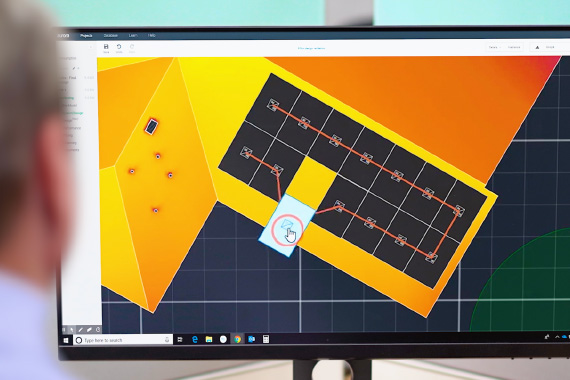
This is when our engineering team takes the initial designs that your solar energy consultant developed and, leveraging Computer Aided Design (CAD) software, create CAD drawings for both jurisdictional permitting and potential Homeowners Association approval.
There are many factors informulating the design before installing solar panels. Key design considerations include string and wire sizing, applicable electrical codes and ratings, as well as the general module layout.
4. Permitting
Our staff takes care of the city permitting and approval process so you don’t have to. Once you have approved your solar installation plans, we will submit the plans and necessary permits to your city or county.
Every city has different requirements for panel installation approval. Some cities require complicated structural engineering reports, while some require a stamped letter of approval from your HOA before they begin the permitting process. Depending on where you live, this step can take up to two to three weeks.
5. Installation Day
Our solar panel installations typically take one to three days. The first phase of your solar panel installation is prepping the roof to ensure a solid and highly professional solar installation. The crew installs industry-leading, double-flashed roof mounting to ensure your solar installation is leak-free.
The second phase is the actual installation of the panels and, if you’ve opted for it, home battery. It is in this phase of installing solar panels that they’re firmly attached to the mounting, all wiring is completed and the monitoring device that tracks your solar system’s performance is set up inside your home.

6. Jurisdictional and Utility Inspections
The first step in getting permission to operate is filling out a long Net Energy Metering application. During this process, utilities like SDG&E ask for a lot of detailed information. We take care of this for you. We answer all of their technical questions, so you don’t have to deal with the headache of doing it. Before you can operate your solar system, an inspection from the city is required. Once this is complete, the inspector informs the Utility and they review it for approval.
7. Utility Approval and Energization
After your solar panel installation has been inspected by the city and your Utility and is approved, you’re then issued Permission to Operate (PTO) from your Utility and you can begin using your solar system to generate solar power for your home. The Utility notifies us that PTO has been granted, and we, in turn, inform you. Like the city inspection, this process can take between 1-2 weeks.
8. Closeout
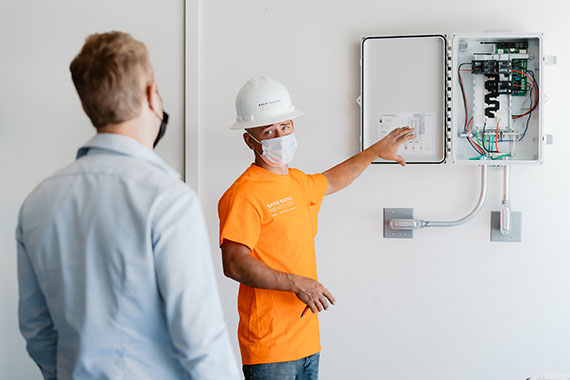
Finally, your Baker Home Energy Power Technician performs an in-home visit to check system performance and answer questions. We’ll show you your inverter (if you have a string inverter), how to read the display screen, and how to monitor your system production witn your system’s monitoring service.


